It's December 31st. The last day of the month and the last day of the year. I must say this year has gone by way too fast. As this month comes to an end I am still working on my December Daily album. In fact I am only on day 11. I'm hoping that tomorrow I will be able to spend a good part of the day working on more pages and get closer to finishing. We will see how my plan works.
For now here are a few pages:
December 1st was also Cyber Monday. This year I did most of my shopping on line. It was so much easier than fighting the crowd at the stores on Black Friday. Of course I did go out to the stores, but not for anything I had to have. It was more for fun and to pick up a few random things that caught my eye.
Day two the rain started. A few presents also started to arrive. Luckily they weren't out in the rain when I got home from work. Thank goodness for covered porches.
Day 3 I did a little more shopping and picked up Chick-fil-A for dinner. Hubby was gone for a couple of nights with the guys on a golfing trip so I just pick something up between errands to eat.
I also started cleaning out the downstairs closet. I wish I had remembered to take a picture before I started. It makes a huge difference when you organize similar items in baskets.
The other two pictures were sent to me by my daughter in law, Robin. I had bought grand-daughter Khloë a tadpole because she wanted a frog. Couldn't find a frog at the pet store so I got the next best thing. Robin sent me the pictures to show that "Prince Eric" (From Ariel) finally got his legs. Lol.
Day 3 side by side:
Don't I live an exciting life? Shopping, eating and pictures of grand-frogs. Lol.
Wednesday, December 31, 2014
Thursday, December 4, 2014
Party Decorations
I am so far behind in getting pictures posted. These pictures are from October. Kylee turned one and had a Daisy Duck themed party. The push ups, cupcakes and cake were all made by my sister Michelle. She has her own business called Sinplicity Cupcakes. She not only makes super cute cupcakes and cakes, but also the yummiest.
The boys got gift box favors with Donald Duck. These were cut out using my Cricut Explore machine. Love that machine!
The banner had pictures of Kylee from birth thru 12 months. Each frame and Daisy Duck were cut from the Cricut Explore.
The last picture wasn't added until I got to the party and took an up to date picture of our birthday girl.
Labels:
Explore,
Mickey and Friends,
TBBM
Monday, November 17, 2014
Frozen Theme Cups
Today I have some cups that will be used as favors for my grand-daughter's Frozen themed birthday party next month. I've seen a few people use these cups and found out you can buy them on line at www.webstaurantstore.com. They are 4 oz. each so they are the perfect size for favors.
I used the Cricut Explore to cut the snowflakes. It cut them perfectly, but it sure took a long time to cut all of them. It also took a long time to carefully get them off the cutting mat. I tore a couple in the process, but overall they came out good.
For the tags I used the Stampin' Up modern label punch. I inked the edges and stamped "thank you" from a stamp by Paper Smooches. The tiny snowflakes in the middle are stickers and the bling was Recollections brand from Michael's Crafts.
The cups are plain white when you get them. I cut snowflake paper from Michaels to cover the cups and added a solid blue cardstock band around the middle. Then I attached the labels and snowflakes. Inside will be a little candy surprise.
Labels:
Cricut Explore,
Party Favors,
Seasonal Soirees,
Stampin' Up
Friday, May 16, 2014
Wedding Banner
Isn't love sweet? My sister was married on Saturday in an outdoor ceremony. It was so beautiful. The weather was perfect, the company was perfect and the wedding was perfect.
I made a few banners for the occasion and totally forgot to take pictures of them. Luckily my sister had an amazing photographer and she got some of the banners in her pictures. Her name is Amanda Hobbs and her facebook page can be found here -> AmandaHobbsPhotography. She took some of the most beautiful pictures at the wedding. If you happen to live around the Oroville, Chico, Yuba City area and need a photographer you should definitely look her up. Here is one of the pictures she took.
Now I'm embarrassed to show you a picture I took, but here goes. This picture was taken at the house real quick with my phone before I put it in the mail to my sister. Yep, that's my excuse for the poor quality. Lol. You probably can't even read it, but it says - Happily Ever After. It was hanging behind the bride and groom dinner table.
This little bitty banner was on the sign-in table.
I also made the Thank You hearts with my Explore machine.
Labels:
Banners,
Birthday Bash,
Explore,
Hello Kitty Font,
Wedding
Wednesday, May 14, 2014
Canvas Project
I attempted my first canvas project. Yikes! It was a lot harder than I thought it would be. I'm sure I was doing something wrong, so if I ever attempt this again I will go to YouTube for some instructional videos first. Lol.
I first painted the canvas with white paint and then added the letters that I cut out of vinyl from Cricut Explore machine. The vinyl DID NOT want to stick. I thought it was just the cheap stuff I was using so I used some better vinyl, but it didn't want to stick either. It took me more time trying to stick those letters down than it did for the whole project.
Here's a picture with the vinyl.
I probably should have left it at that, but it wasn't what I wanted for the end result, so I forged ahead. I added two coats of black paint and a few touches of the white to create a chalkboard affect. It looks better in person, but there was one area where the vinyl pulled up a little.
Here is a picture of the canvas at my sister's wedding.
Congratulations to my beautiful sister Michelle and my new brother in law, John.
Labels:
Canvas,
Crafts,
Plantin Schoolbook,
Quarter Note
Friday, April 4, 2014
A Little Fun with Vinyl
I've been making t-shirts again. Nothing fancy because my son is picky and you know, he's a guy! Just kidding. He's entered in a race this weekend and to show support I made t-shirts for myself, daughter-n-law and two grand-daughters.
This is the front of the shirts for me and daughter-n-law.
This is the back.
The shirt for Khloë.
Shirt (onesie) for Kylee.
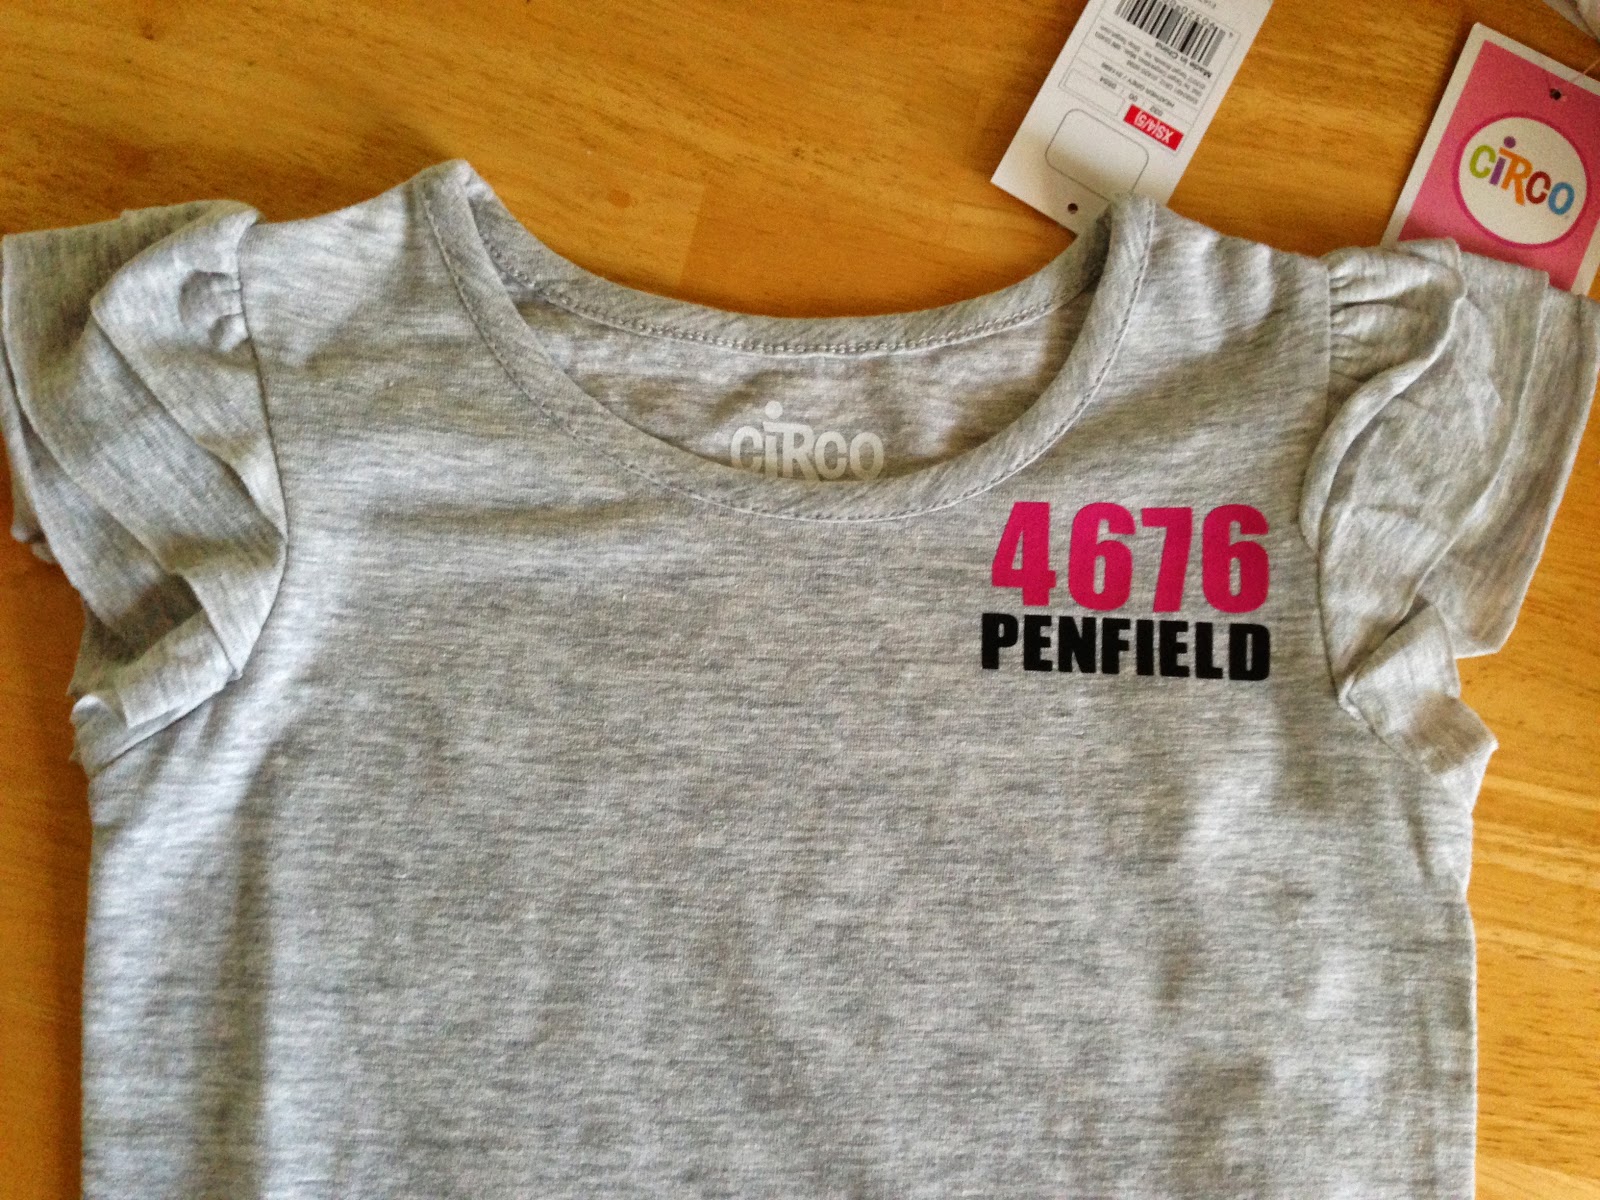
And because I was having so much fun I made a shirt with my son's company name on it.
I'm having a lot of fun with my new Explore. It's so nice to be able to use any font on my computer. I'll be back after the race to share pictures.
Monday, March 17, 2014
Disneyland Shoes
I think I might have mentioned before that we're taking the kiddos and going to Disneyland. It will be the first time for my daughter-in-law and two grand-daughters. I can hardly wait to see their reactions, but while we wait for the day to come we're staying busy with crafts. We've been making banners and baby onesies for a baby shower this weekend, among other things.
The cutest thing I made was a pair of shoes. I got the idea from Sharondalyn on facebook. She made a white pair of shoes and I fell in love with them. I went out to the mall in search of some white shoes and couldn't find any I liked. I was determined to find something that would work and ended up buying a pair of gray Vans.
Here is a picture of "Before". Sorry the picture is blurry, but you get the idea.
After using my cricut and iron on vinyl to cut out a couple of Minnie Mouse heads and names I ironed them on my shoes. Here's the back:
And a picture of the side:
Aren't they too stinkin' cute?! I love how they turned out. Thank you Sharondalyn for the idea.
Labels:
Crafts,
Disneyland,
Mickey and Friends
Wednesday, March 12, 2014
Wedding Banner
My sister is getting married in May and I wanted to make a few things for her. I still need to make some banners for the food and sweets tables, place settings and things like that. Her colors are gray, white and yellow.
This banner says Mr. & Mrs. and will probably hang from their table after the wedding. I know I keep saying how much I love the Explore, but I really do. The yellow patterned paper on the banner is a thin paper from Bazzill. I usually have a hard time cutting this type of paper on my other Cricut machine because it's so thin, but the Explore had no problem at all.
The back layer is a solid cardstock from Stampin' Up and the yellow letters are cut from Close to my Heart cardstock. The white scallops are Bazzill paper I ordered in bulk from HSN and then embossed with my Cuttlebug and the Swirls embossing folder.
Tuesday, March 11, 2014
A Quick Make it Now Birthday Card
I needed a quick birthday card and my creativity was no where to be found. I was also in a time crunch. I opened up Design Space and looked through the make it now projects. I thought this card would look interesting and I loved that it had writing on the design already.
With these projects all you really have to do is push the 'Make it Now' button and off you go. I loaded the light blue paper first and the machine even prompted me to place my pen in the holder. It cut beautifully. Then I added the darker blue paper and the Explore cut it to the exact size I needed to back up the front cut. It was super easy. After gluing the pieces together I added a tag to the front and a sentiment to the inside. Unfortunately I forgot to take a picture of the final card.
With these projects all you really have to do is push the 'Make it Now' button and off you go. I loaded the light blue paper first and the machine even prompted me to place my pen in the holder. It cut beautifully. Then I added the darker blue paper and the Explore cut it to the exact size I needed to back up the front cut. It was super easy. After gluing the pieces together I added a tag to the front and a sentiment to the inside. Unfortunately I forgot to take a picture of the final card.
Labels:
Cards,
Explore,
Make it Now
Monday, March 10, 2014
Cutting and writing with the Explore
I'm still learning how to use the Explore and the Design Space. Some things come easily and other things are a bit challenging. While trying to use a font from my computer I was having a hard time welding the letters together. I'll have to keep working on that to see if it can be done.
I was able to figure out how to cut and write though. The hardest part was finding the tag I wanted to use and then deciding on the sentiment.
I really like the font on the tags above, but wanted something a little more elegant for this box I made for my sister's wedding.
The tag was a layered tag, but instead of cutting layers I wanted to use the silver pen to draw the top piece. It worked out perfectly. The 'Thank you' is really pretty, but would look much better with a fine tip pen. I just didn't have one at the time. It's on my shopping list of things to get.
The box was made using Tags, Bags, Boxes and More. The Explore will cut and score, but I accidentally turned off the score feature and had to score it myself. That would explain why it isn't lined up perfectly.
There are so many possibilities with this machine. I love that I don't have to swap out the cutting blade for a pen anymore. Having a separate holder for each one is awesome.
Thursday, March 6, 2014
Another Thank You Card
A friend is having a baby shower in a couple of weeks and I offered to help her with some of the decorations and the Thank You cards. She sent me a couple of pictures of what she wanted and I got busy with my New Cricut Explore and laptop.
Since this was my first real project with the Explore (starting from scratch) I thought it might be harder to figure things out. But guess what? It wasn't hard at all! I still need to make some adjustments to my work area to make more room for my laptop, but besides that, it was super easy to make this card.
I could have printed the text using the Explore, but I was in a hurry so I printed it on white cardstock from my printer. Even that was super simple since I now have my laptop, printer and Explore all in the same room.
The mustache on the front of the card was cut at 1" from the Artiste cartridge and 1/2" for the inside of the card. The bow tie on the front was cut from the Billionaire cartridge.
I can hardly wait to make more things with this new machine. Now if I could just hit the lottery so I don't have to work, then I would have the time.
Labels:
Artiste,
Billionaire,
Cards,
Explore
Wednesday, March 5, 2014
Cricut Explore and Thank You Card
I received my new Cricut Explore machine last Friday. Unfortunately it arrived at my house after I had left for the weekend. It was torture waiting until I got home, but worth the wait. I am LOVING this machine. As soon as I got home I unboxed the Explore, plugged it into my laptop and went through the set up. At the end of the set up there was a "Make it Now" card project. I clicked the button to "Make it Now" and off I went. It was super easy.
The Explore came with a really nice bag, a silver pen and some materials to cut to get me started. Move over Cricut Expression and Cricut Mini!
I quickly lost the bag to the cat though. She seemed to think it was really nice too.
In addition to buying the Explore I also bought the pen set and tool kit which included the embossing tool. I haven't used any of these yet, but I'm really excited about the writing and embossing capabilities of this machine.
And here is my first project out of the box. The sizes were already set so all I had to do is load my mat with the black paper and push "GO". Voila! A cute card with silver writing and cuts that look 3D with just the push of a button. I love it.
Labels:
Cards,
Explore,
Make it Now
Subscribe to:
Posts (Atom)
Blessed are the children of scrapbookers, for they shall inherit the scrapbooks.


.jpg)


.jpg)


